

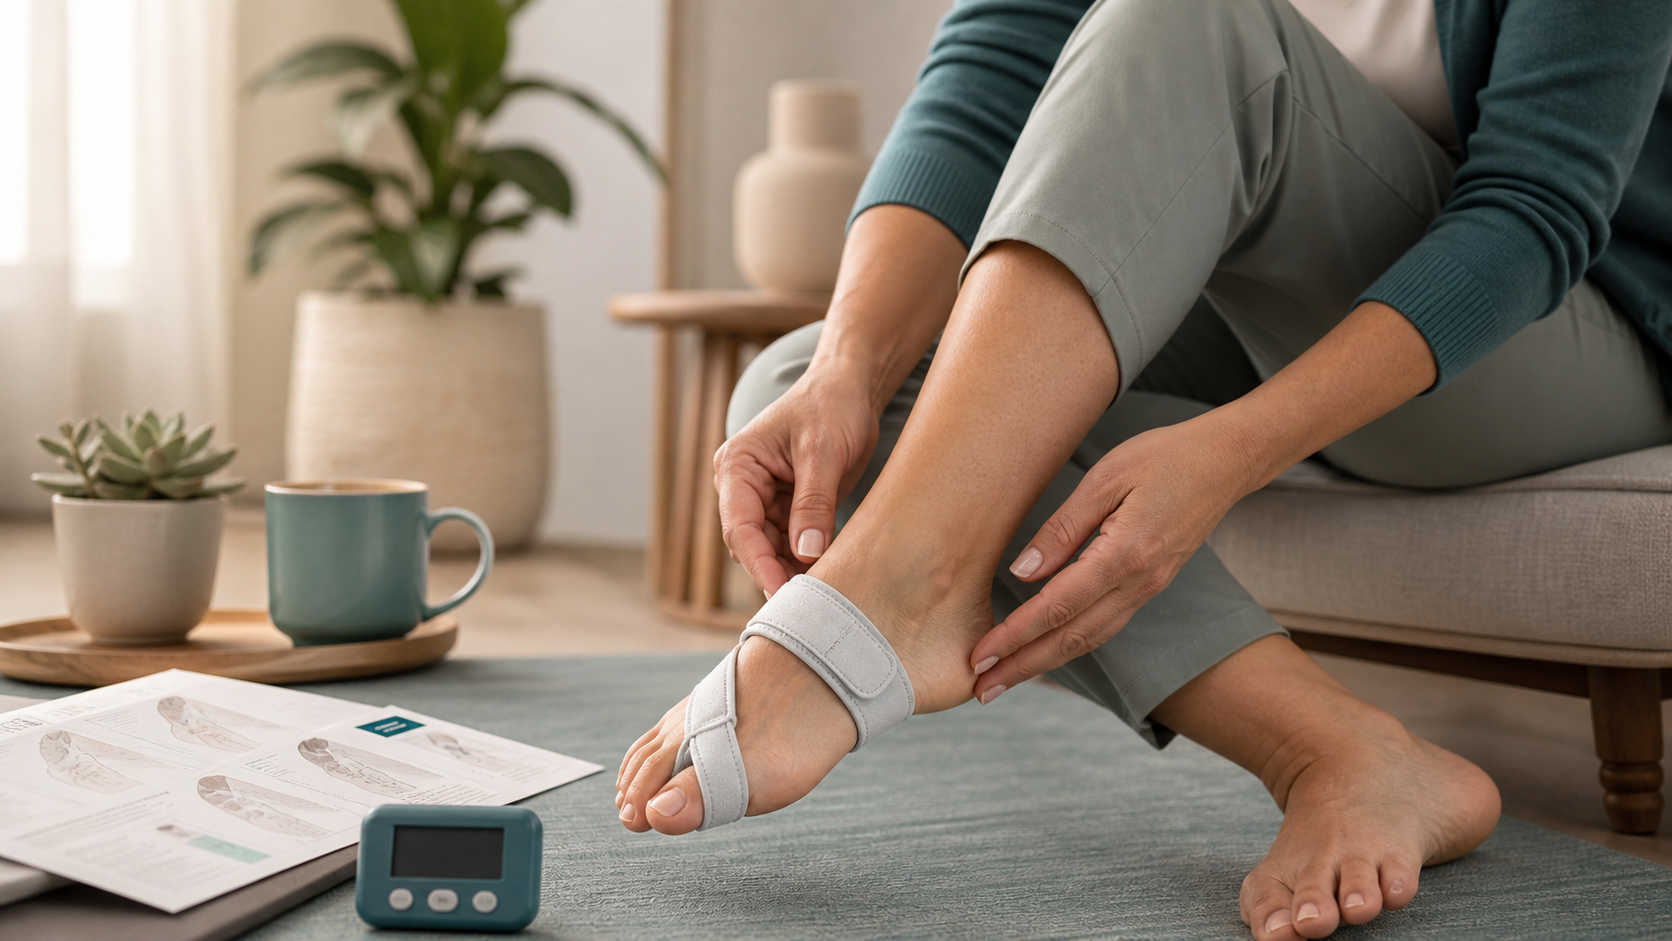
Use a bunion corrector with gentle tension, for a short first session, and only in the setting described by its instructions. The device should feel supportive rather than painful. Remove it immediately for increasing pain, numbness, tingling, persistent redness, swelling, coldness or skin color change. A corrector should not be used to force the toe into an uncomfortable position.
Choose the correct device and side
Confirm whether the design is soft or rigid, left/right specific and intended for rest, walking or shoes. Do not assume two devices with similar names have the same instructions.
Start with low tension
Secure the device so it stays in place without compressing the foot. Increase adjustment only within comfort. More tension does not mean faster or permanent correction.
Inspect the skin
Check during and after early sessions for pressure marks, blisters or color change. Persistent marks are a fit warning, not evidence that the device is “working.”
When should you stop?
Stop for pain, burning, numbness, tingling, swelling, cold toes, discoloration, broken skin or worsening symptoms. Seek advice if symptoms do not settle after removal.
Who should ask a clinician first?
People with diabetes, poor circulation, reduced sensation, active skin problems, significant deformity or uncertain diagnosis should get individualized advice before use.
How Altaeron products differ
The Altaeron adjustable corrector is described as adjustable, cushioned and intended for gradual at-home support. The rigid dial-adjustable splint is sold for a selected left or right foot and is described for rest or light indoor activity, not closed shoes. Follow the instructions for the exact product you own.
Keep expectations realistic
A corrector may support toe position while worn or help comfort for some people. It is not a proven permanent cure.
Read what the evidence supports.
Before the first session
Read the instructions for the exact device, confirm the correct side and inspect the skin. A rigid left/right splint, a soft sleeve and a spacer have different fit rules. Do not start over a blister, wound, marked swelling or acutely hot joint.
A gradual introduction
- Fit the device at its lowest comfortable tension.
- Use a short first session while awake so sensation and skin can be monitored.
- Remove it and check every contact point.
- Increase duration only when the prior session caused no persistent mark or symptom.
- Never compensate for lack of progress by forcing more angle.
Normal awareness versus a warning sign
Feeling the device touch or gently support the foot is expected. Sharp pain, burning, pins and needles, numbness, coldness, blue or pale color, increasing swelling or a mark that persists after removal is not. Stop immediately and allow symptoms to settle; obtain advice if they do not.
Walking, shoes and sleep depend on the design
Do not assume “day and night” is a category-wide instruction. A bulky rigid splint may be intended for rest and may create dangerous pressure inside a closed shoe. A soft device that fits in footwear still needs adequate toe-box room. Sleep use reduces opportunities to notice early irritation, so it should occur only when the product instructions support it and the user has already tolerated the device while awake.
Why more tension is not better
A corrector is not an orthodontic appliance with a guaranteed remodeling schedule. Excess tension can irritate skin, nerves or the joint without producing permanent structural change. Comfort and safe contact are the limits, not how far the toe can be forced.


